- Start with the right materials: Use thin, rectangular paper strips (about 30 cm long and 1–2 cm wide) for easier folding and better results.
- Master the pentagon base: Forming a secure pentagon knot is the foundation of a paper star and ensures it holds its shape.
- Use the over-under wrapping technique: Wrapping the paper strip around the pentagon in an alternating pattern maintains symmetry and stability.
- Secure and tuck the tail: Properly tucking the end of the strip prevents the star from unraveling and makes it ready for puffing.
- Puff to create points: Gently pressing the pentagon edges inward forms the characteristic 3D star points.
- Experiment and customize: Try different paper sizes, colors, or patterns, and explore miniature, layered, or patterned stars for creative effects.
- Practical uses and gifts: Paper stars make charming decorations, garlands, bookmarks, and thoughtful handmade gifts.
Folding paper stars is a timeless craft that’s perfect for adding a touch of charm to gifts, decorations, and DIY projects. Whether you’re a complete beginner or just looking to perfect your origami skills, this guide walks you through everything you need to know to create beautiful, three-dimensional paper stars. By the end of this guide, you’ll have the skills to make multiple stars in different sizes and colors, turning simple paper into dazzling shapes.
Why Make Paper Stars?
Paper stars aren’t just pretty—they’re versatile. You can use them to:
- Decorate a room for a special occasion.
- Add a handmade touch to gift wrapping.
- Create a whimsical garland or mobile.
- Practice fine motor skills and patience.
Learning how to make paper stars is surprisingly easy to make once you understand the basic folding technique. All you need is a narrow strip of paper and a little patience.
Materials You’ll Need
Before starting, gather your materials. You don’t need anything fancy:
- Paper: A thin, rectangular strip works best. Any scrap paper can be used.
- Recommended size: Ideally, at least 30 cm long and 1–2 cm wide. You can cut a whole sheet of paper into strips if needed.
- Optional tools: A pen cap or similar small tool can help tuck folds neatly, but your fingers usually do the trick.
Choosing flexible paper will make the folding process smoother, and you can experiment with colorful or patterned paper for a more decorative star.
How to Fold Paper Stars in 4 Steps
Step 1: Making the Pentagon Base
Every paper star starts with a pentagon shape. Think of this as the “foundation” of your star.
- Start the knot: Take the right end of your paper strip and form a small loop. Thread the short end through the loop to make a loose knot.
- Form the pentagon: Gently tighten the knot so it naturally forms a five-sided shape. Be careful not to crease it too hard.
- Tuck the tail: Fold the small leftover piece of paper on the right side back against one edge of the pentagon. Turn it over, unfold slightly, and tuck the end neatly under the middle layers.
- Tuck the head: Take the longer piece of paper on the left side and slide it under the front layer of the pentagon. This helps secure the pentagon and prepares it for wrapping.
At this stage, your pentagon should hold together without any additional support, forming a stable base for the star.
Step 2: Wrapping the Strip
Now it’s time to wrap the paper around the pentagon to start forming the star’s body.
- Follow the edges: Continuously fold the strip over the top of one edge, then under the next edge. This over-under pattern ensures the pentagon keeps its shape.
- Maintain alignment: Keep each fold tight but gentle. The pentagon should retain a neat, even shape throughout.
- Repeat until the end: Continue wrapping the strip in the same pattern until you reach the remaining piece at the end of your paper strip.
This step might take some patience, but wrapping carefully ensures your star will have a smooth, even look.
Step 3: Securing the Tail
Once you’ve wrapped the entire strip, you’ll have a small leftover piece known as the tail. Securing this is essential to prevent the star from unraveling.
- Simple method: Fold the tail over the last edge and tuck it under the starting layers of the pentagon.
- Recommended method: Leave the tail slightly unfolded, bring it over, fold the excess down into the middle, and tuck it under the middle layers. You can use a pen cap or similar tool to push the paper in neatly if needed.
After tucking the tail, your pentagon base is fully secured and ready for the final step.
Step 4: Puffing the Star
This is the fun part—the moment your pentagon transforms into a three-dimensional star.
- Gently press: Push each of the pentagon’s five edges toward the center.
- Create the points: As you push, the pentagon sides will puff outward, forming the characteristic points of the star.
- Adjust for symmetry: Lightly press or adjust the points to make the star look even and balanced.
Once puffed, your origami star is complete! It should hold its shape and look full and dimensional.
Tips for Beginners
Making paper stars can take a little practice. Here are some tips to help you along:
- Start with paper strips that are not too thick: Thicker paper can be harder to fold and tuck.
- Use a ruler to cut strips evenly: This ensures your pentagon is symmetric and your star looks neat.
- Keep folds gentle but firm: Overly tight folds can tear the paper, while too loose folds can make the star collapse.
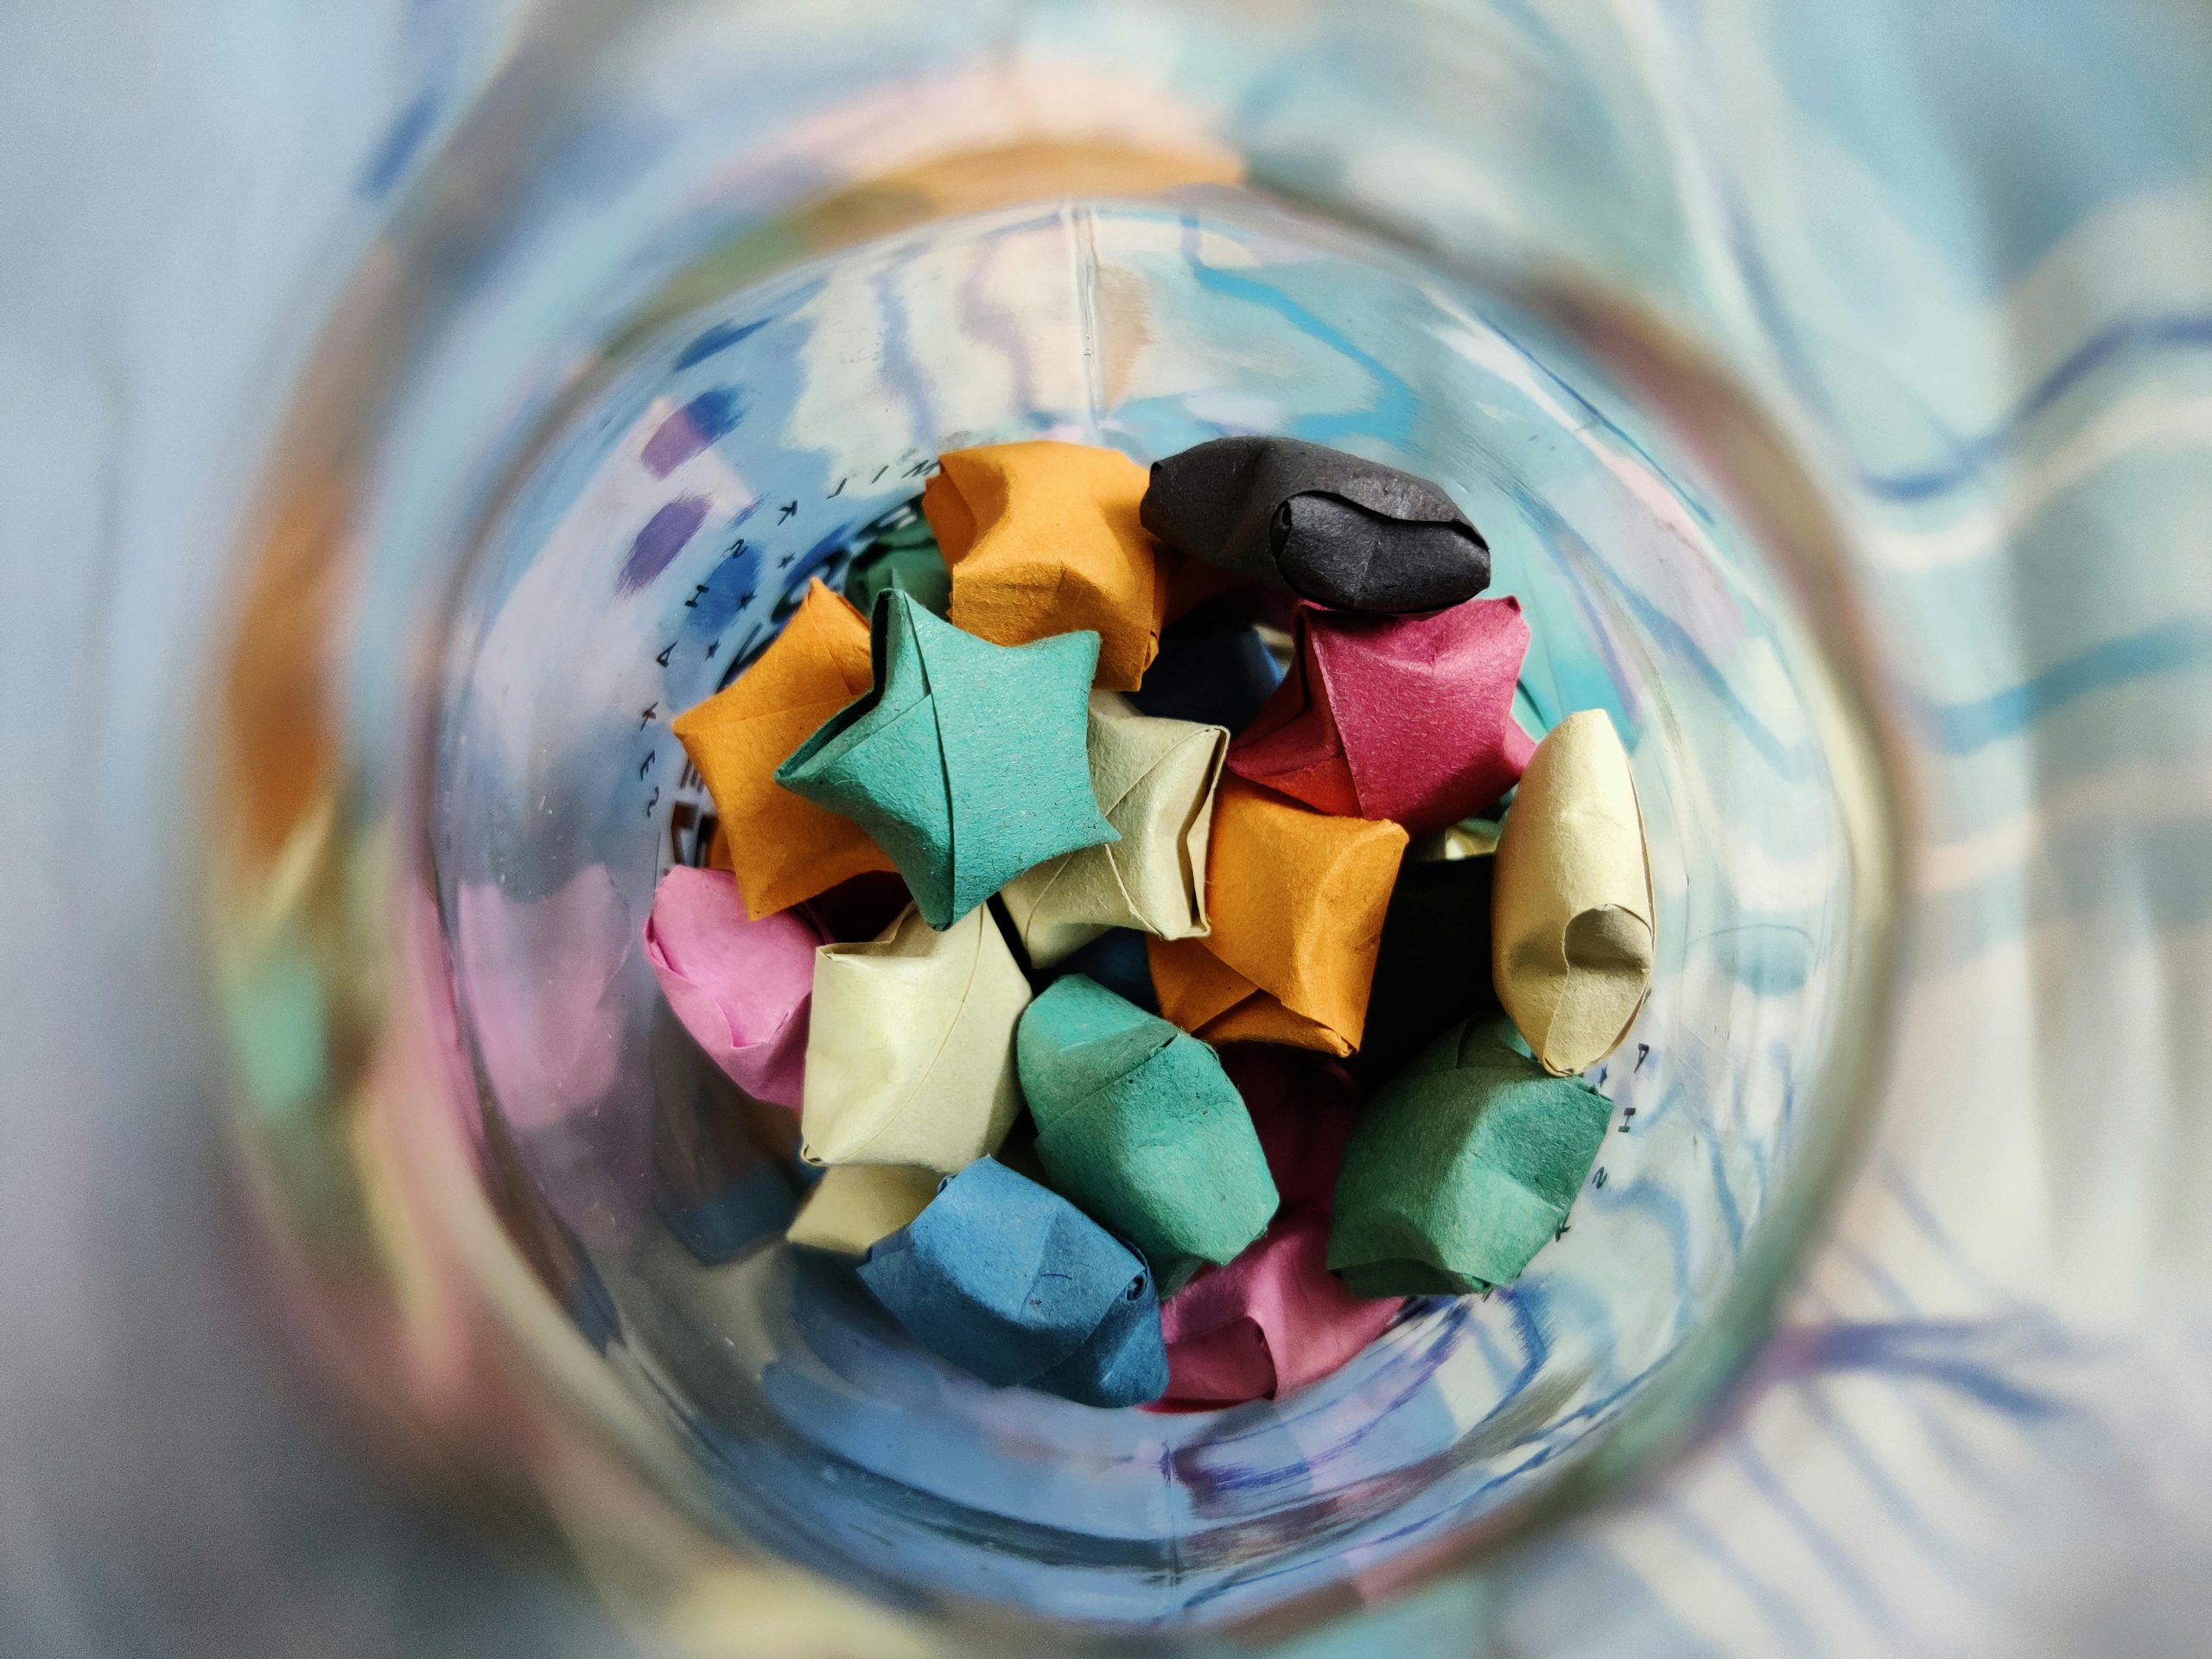
- Experiment with sizes: Try different strip lengths and widths to make stars of varying sizes. Small stars are perfect for jar decorations, while larger ones make great ornaments.
- Be patient: Folding stars is as much about patience as precision. Your first few may not be perfect, but they’ll improve quickly.
Creative Ways to Use Your Paper Stars
Once you’ve mastered folding stars, there are countless ways to use them in your home or craft projects:
- Decorative jars: Fill glass jars with colorful paper stars for a charming centerpiece.
- Garlands: String multiple stars together for wall or holiday decorations.
- Gift toppers: Place a single star on top of wrapped presents for a unique touch.
- Bookmarks: Glue a star to a paper clip for a handmade bookmark.
- Mobile art: Hang stars at different lengths from a hoop to create a stunning mobile.
Choosing the Right Paper
The paper you use will affect your star’s final appearance:
- Plain colored paper: Creates a simple, elegant star.
- Patterned paper: Adds fun and visual interest.
- Recycled paper: Great for eco-friendly crafts, and it gives a unique texture.
Avoid using paper that’s too stiff or thick, as it can be hard to fold and may not puff nicely.
How to Make Multiple Stars Quickly
Once you’ve made your first star, you can speed up the process:
- Cut multiple strips at once: Prepare a batch of strips from a single sheet of paper.
- Set up a folding station: Keep strips, a pen cap, and a small ruler on hand to streamline folding.
- Practice wrapping quickly: Once you get the over-under rhythm, wrapping strips becomes much faster.
With a little practice, you can make dozens of stars in an afternoon—perfect for parties or decorating a room.
Common Mistakes and How to Avoid Them
Even seasoned crafters can make errors. Here’s what to watch out for:
- Pentagon doesn’t hold: Check that your initial knot is snug and tuck both tail and head securely.
- Uneven points: Make sure each wrap is consistent in size and tightness.
- Paper tearing: Use thinner, flexible paper and avoid pulling too hard while tucking.
- Star won’t puff: Ensure the pentagon layers are fully tucked and press gently from the edges toward the center.
Advanced Variations
Once you’re comfortable with basic stars, try experimenting with:
- Miniature stars: Use very narrow strips for tiny stars perfect for jars or confetti.
- Layered stars: Combine multiple stars of different colors for a layered effect.
- Patterned folds: Use washi tape or patterned paper strips to create intricate visual designs.
These variations add a creative twist and make your paper star projects even more impressive.
Storing Your Stars
Finished stars are surprisingly durable, but storing them properly keeps them looking their best:
- Use a small box or jar: Protects them from crushing.
- Avoid moisture: Keep them in a dry area to prevent paper warping.
- Layer with tissue paper: If storing multiple stars in one container, tissue prevents bending or tearing.
Why Paper Stars Make Great Gifts
Paper stars are more than just craft projects—they’re thoughtful, handmade gifts. Consider giving them:
- In a jar with a personalized note.
- As part of a festive decoration set.
- Tied to a gift box or envelope for an extra touch.
They’re inexpensive, customizable, and show a personal effort that people really appreciate.
Frequently Asked Questions
Can I use colored cardstock instead of paper?
Yes, but thick cardstock may be harder to fold and tuck neatly. Try using thinner paper for beginners.
How do I make bigger or smaller stars?
Simply adjust the length and width of your paper strips. Longer strips create bigger stars, and narrow strips create smaller stars.
Do I need special tools?
No, your fingers are usually enough. A pen cap or small stick can help with tucking, especially for tiny stars.
How long does it take to make one star?
For beginners, about 10–15 minutes per star. With practice, you can fold one in just a few minutes.
Can I make stars from recycled paper?
Absolutely. Newspaper, old book pages, or scrap paper all work, though the texture may affect the star’s puff.
Final Thoughts
Making paper stars is a relaxing, creative, and rewarding craft. With just a few simple steps—forming the pentagon base, wrapping the strip, securing the tail, and puffing the star—you can turn ordinary paper into beautiful decorations.
The more you practice, the faster and more precise your stars will become. Soon, you’ll be able to fill jars, create garlands, and make unique gifts that are truly one-of-a-kind. Whether for holidays, birthdays, or just a fun afternoon project, folding paper stars is a craft you’ll return to again and again.
So grab some paper strips, follow these steps, and start folding your own lucky stars today!